Zapier Integration
Important: The Zapier integration is still in private mode for a few more days. Contact us to get access now.
In addition to our free WordPress plugin, you can also integrate EveryAlt into any workflow with a few clicks using Zapier. Set up your free Zapier account before you get started. If you’re a coder and want more flexibility, you can directly interact with our API instead.
If this is your first time using Zapier, read this article about Creating a Zap first. (By the way, we’re told that “Zapier” rhymes with “Happier.”)
When creating a Zap with EveryAlt, you’ll need to first decide on your Trigger. For example, your Trigger could be the creation of a new row in a Google Sheets spreadsheet or an Airtable database. If there’s an image URL in that row, you can then send the URL to EveryAlt via Zapier, and EveryAlt will return the alternative text for that image. We’ll use Google Sheets in our example here, but you can do this with any software that has a Zapier Trigger avaiable.
EveryAlt provides only Actions in Zapier, which necessarily take place after the Trigger.
An Example Zap
In this example, we’ll create a Google Sheet with two columns, one for an image URL and one for the alternative text. Here’s what that looks like:

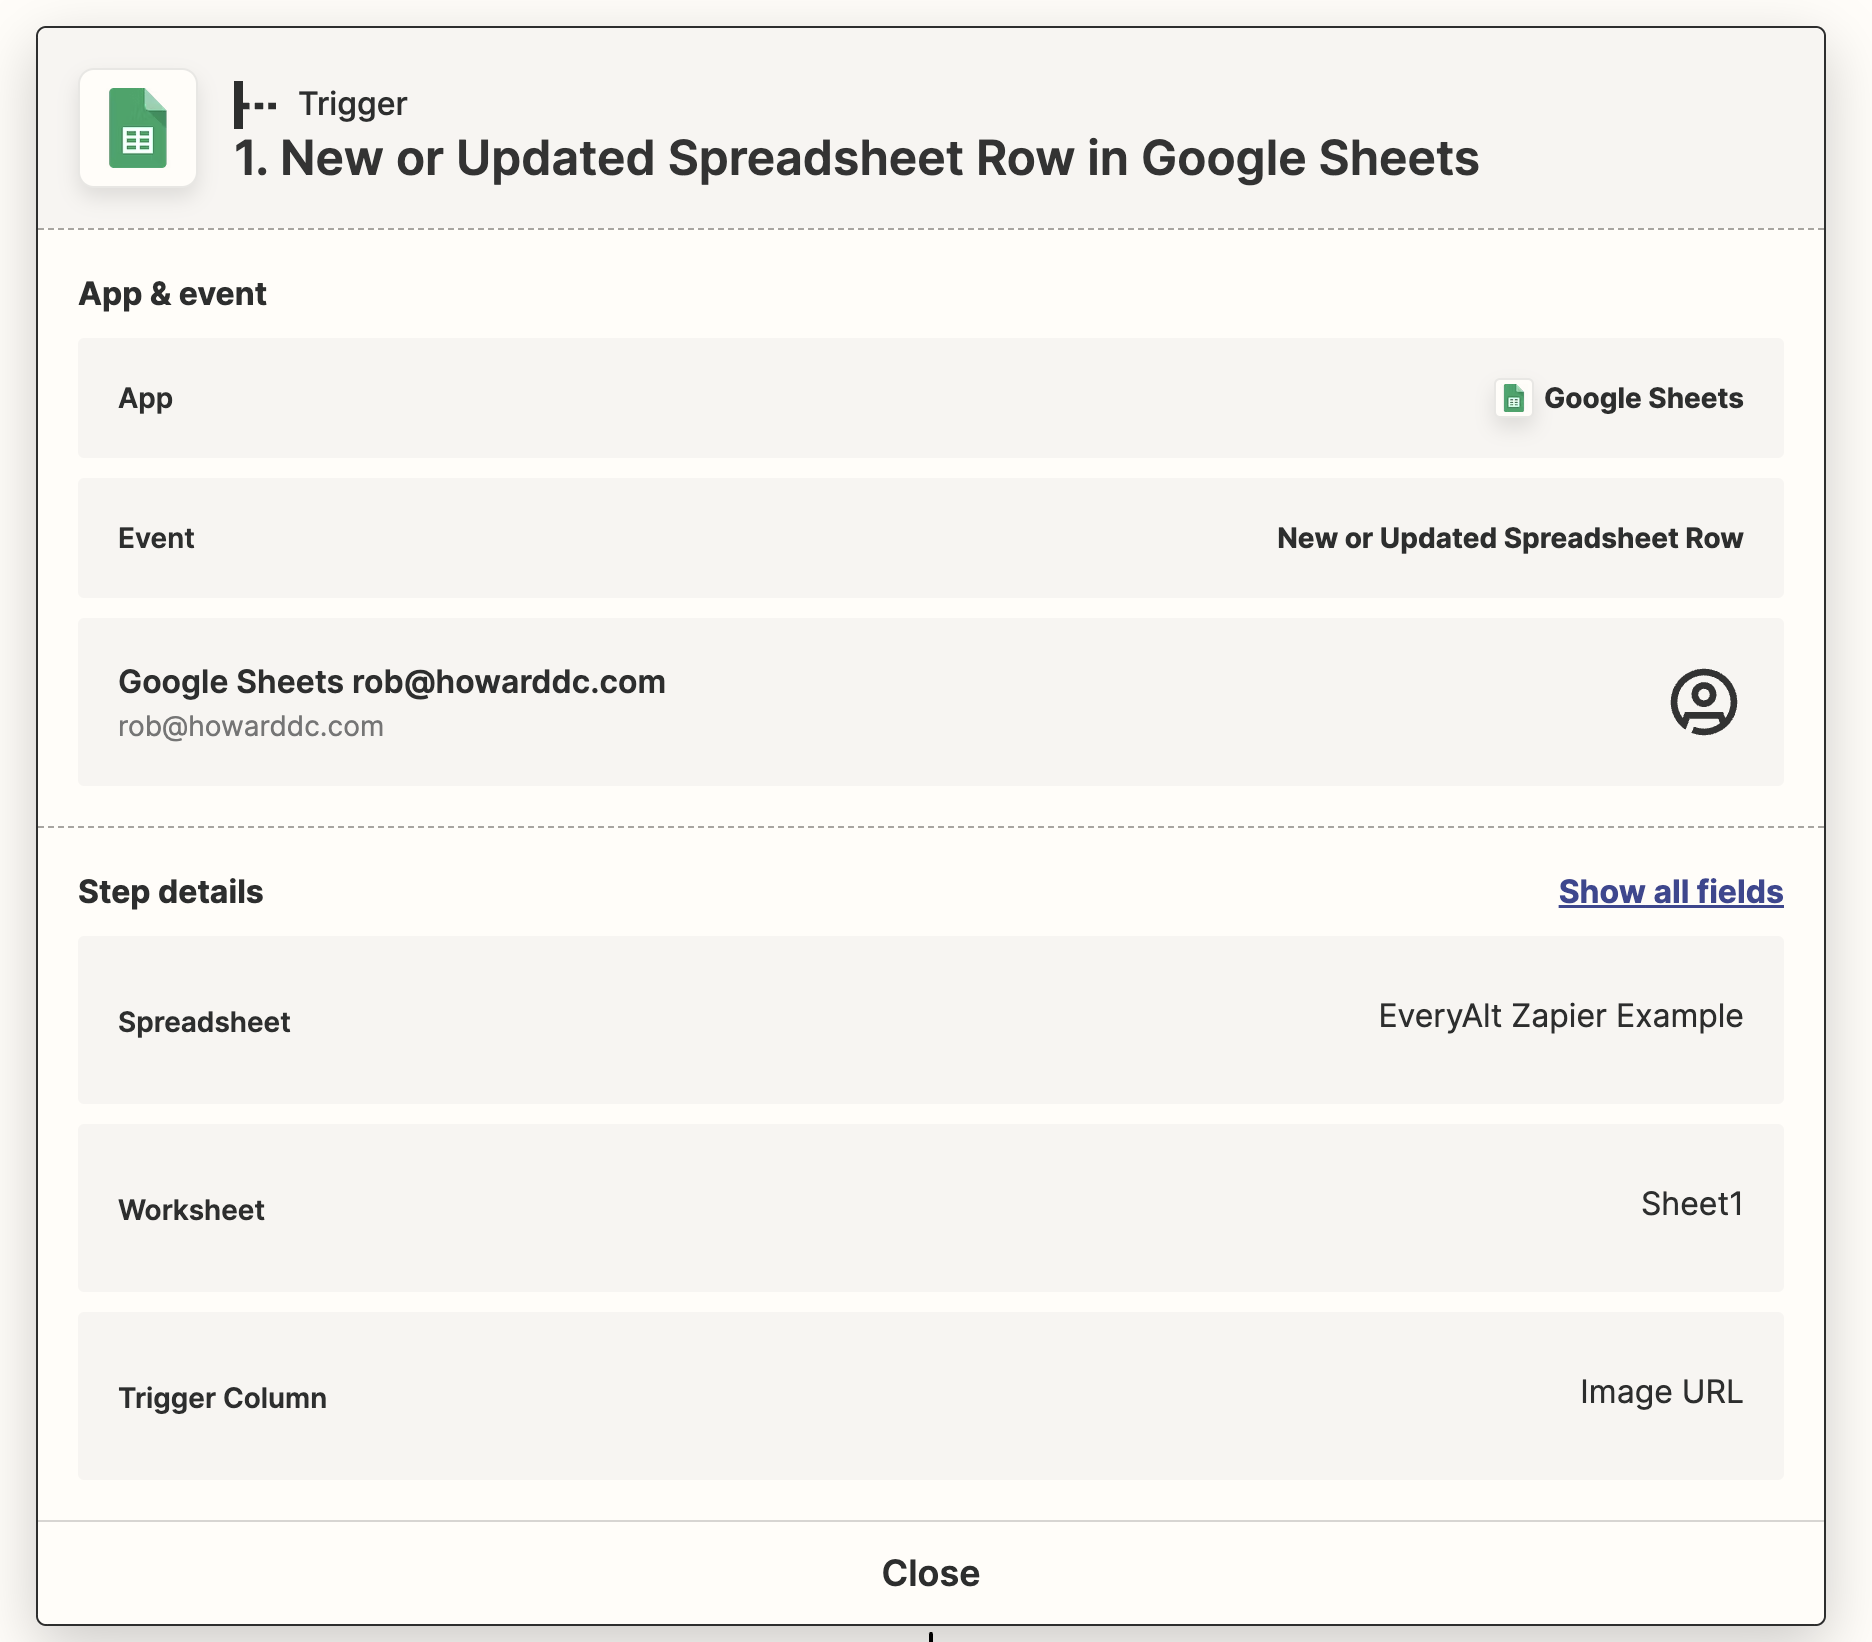
Next, we’ll set up a new Zap that checks for new or updated rows in Google Sheets. (Note that your sheet probably already has extra blank rows, so really when you fill out a blank row, it’s an update rather than the creation of a new row.)
When you set up a new Zap with a Trigger that looks for updates in your spreadsheet, it’ll look something like this:

Now, let’s send the image URL from your spreadsheet to EveryAlt and watch the magic happen. Search for the EveryAlt application when you add a new Action to your Zap. There’s just one Action available, called “Generate Alternative Text for an Image.”
Once you’ve selected that Action, you’ll be prompted to enter your API key (this is only necessary for your first Zap, as your key will be saved for the future). Remember, you can grab this from your My Account page once you’re logged into your free EveryAlt account. Each time you make a request to the EveryAlt Action in Zapier, you’ll use one of your EveryAlt image credits.
Once you’ve pasted in your API key, you’ll move on to setting up your EveryAlt Action.
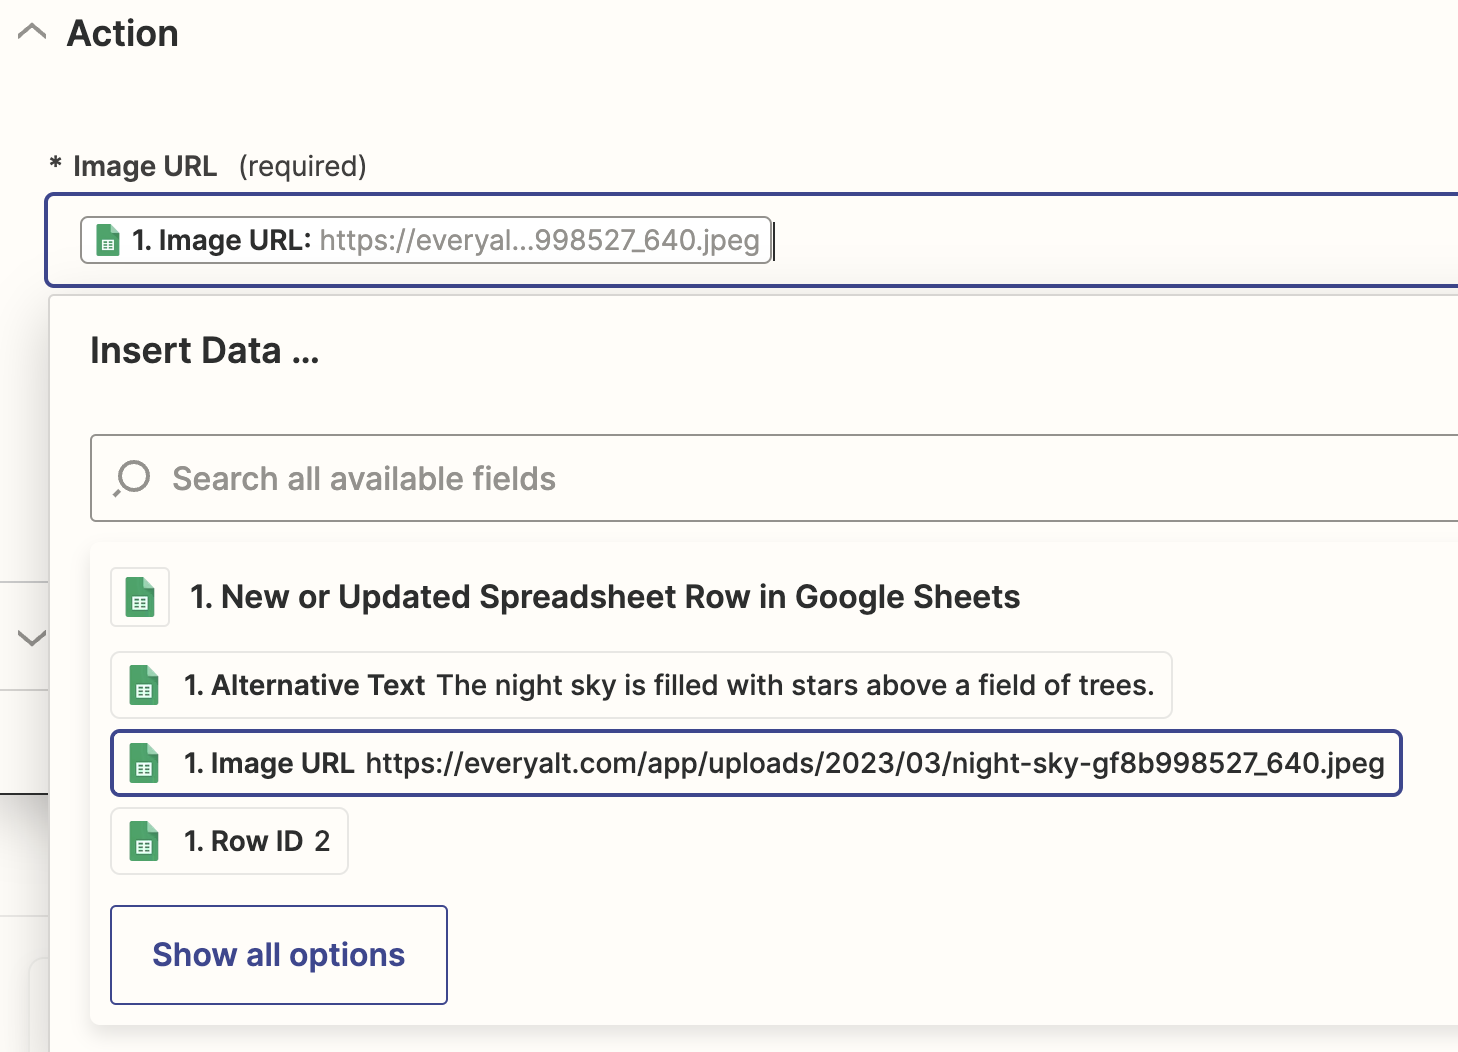
The EveryAlt Action only requires you to fill out one field, with is the image URL. This needs to be a publicly accessible image URL, with no password-protection or anything that might get in the way of our system accessing the image. In this example, we’re grabbing the value of the first column of our spreadsheet and sending it as the URL – of course, you’ll want to update that for your specific needs when you create your own Zap.

Once you’ve set up your Image URL value, continue to the next step and test your action. You should get a response showing the alternative text generated by EveryAlt for the test image you chose when setting up your Trigger.
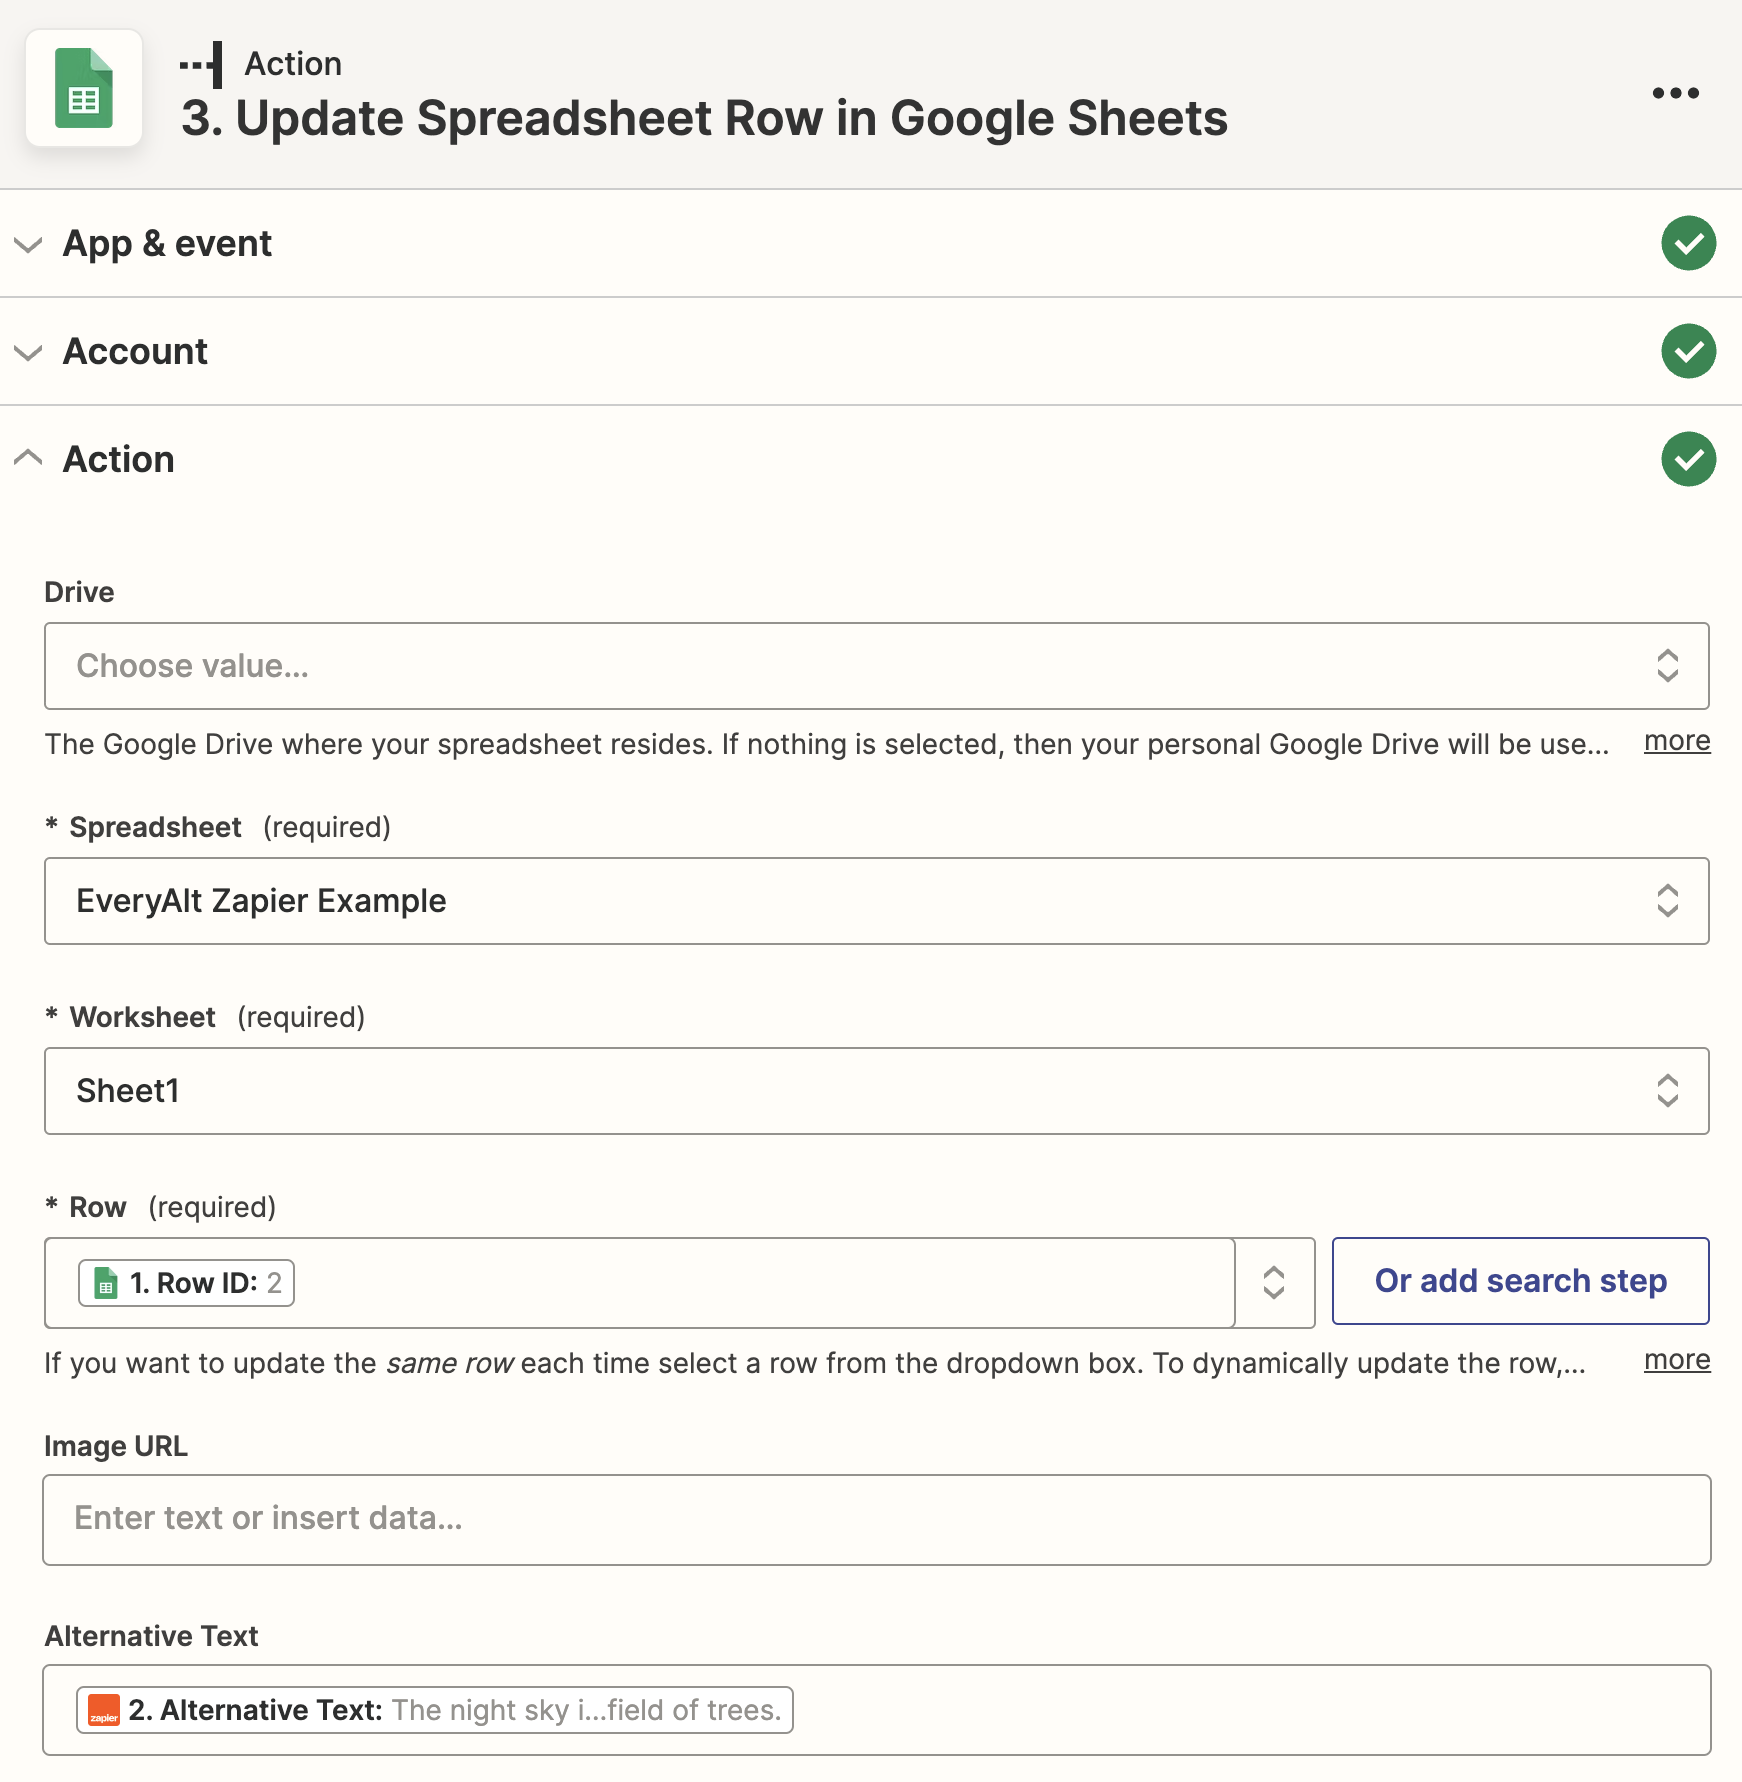
For our example Zap, we created a second Action that places the value returned by EveryAlt back into the second column of the spreadsheet. We won’t go into too much detail on this since it’s Google Sheets-specific and probably won’t directly apply to your real-life use case.

Once we publish the Zap, Zapier will watch the Google Sheet and run the EveryAlt alt-text-generation every time you add a new image URL. Depending on your Zapier plan, it may take a few seconds or a few minutes. Here’s the result!

Pretty cool, right?!
But really, the power of the Zapier integration is in your creativity. Zapier allows you to integrate EveryAlt with thousands of tools, including all things Google, your e-mail account, Mailchimp and other newsletter providers, Slack, Shopify, Dropbox, Twitter, Asana, Basecamp, social networks, and so much more. Explore all the applications, and then get started by connecting EveryAlt to your favorite tools.